| 8.53. Colorize | ||
|---|---|---|

|
8. The “Colors” Menu |  |
| 8.53. Colorize | ||
|---|---|---|
|
|
8. The “Colors” Menu | |
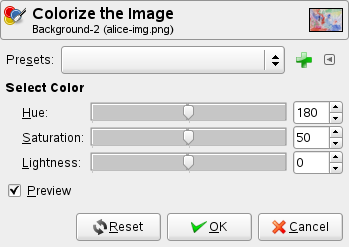
The Colorize tool renders the active layer or selection into a greyscale image seen through a colored glass. You can use it to give a “Sepia” effect to your image. See Color model for Hue, Saturation, Luminosity.
You can save the color settings of your image by clicking the
button

The
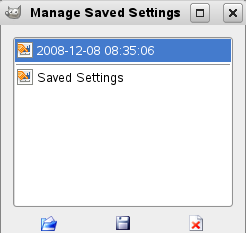
![]() button opens a menu:
button opens a menu:
which lets you Import Settings from File or Export Settings to File, and gives you access to the Manage Save Settings dialog:
Hue: The slider and the numeric input box allow you to select a hue value normalized in the range: 0.0 to 1.0.
Saturation: The slider and the numeric input box allows you to select a saturation value normalized in the range: 0.0 to 1.0.
Lightness: The slider and the numeric box allow you to select a lightness normalized value in the range: -1.0 (dark) to +1.0 (light).
The Preview option renders all changes immediately on the canvas.
This option divides the canvas in two, showing you the before and after of applying the effect on the canvas. The split can be horizontal or vertical: change between the two pressing the Ctrl key. The divide line can be moved by dragging it with the mouse (mouse pointer changes in a small hand when hovering on the line). Moreover, the views can be swapped using the Shift key.