| 9.5. Normal Map | ||
|---|---|---|

|
9. Generic Filters |  |
| 9.5. Normal Map | ||
|---|---|---|
|
|
9. Generic Filters | |
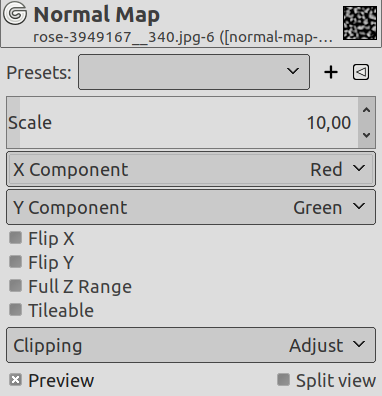
This filter generates a normal map from a height map. It's early initial work and a lot more is expected to be done.
We will use an height map created with Section 14.8, “Simplex Noise”:
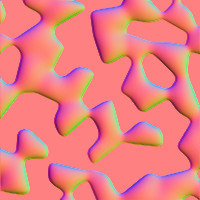
Figure 17.176. Normal Map Example
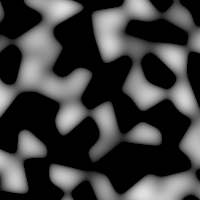
The height map
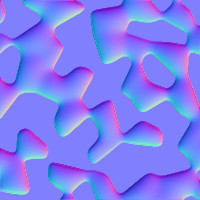
Filter applied with default options, giving the Normal Map
![[Note]](images/note.png)
|
Note |
|---|---|
|
These options are described in Section 2, “Common Features”. |
The amount by which to scale the heights values: increase or decrease bumps.
Scale = 2
The component used for X, Y coordinates: you can choose between the three RGB colors for the bumps.
Note that if you change these values, new colors are added to the existing colors, giving the complementary colors.
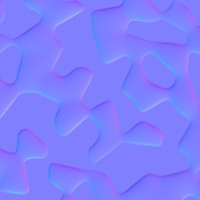
Flip the X, Y coordinates: flip bumps colors, horizontally and vertically. Bumps have a clear border and an opposite dark border, giving a feeling that light comes from a certain direction. To see bumps instead of hollows, light must come from the upper left corner; play with Flip X and Flip Y to get this lighting.

After playing with Flip X and Flip Y
Use the full [0, 1] range to encode the Z coordinates: You can get a more abrupt color gradient.
TQDO
Generate a tileable map:

TODO
The result of this filter can be larger than the original image. With the default Adjust option, the layer will be automatically resized as necessary when the filter is applied. With the Clip option the result will be clipped to the layer boundary.