| 5.3. Emboss | ||
|---|---|---|

|
5. Distort Filters |  |
| 5.3. Emboss | ||
|---|---|---|
|
|
5. Distort Filters | |
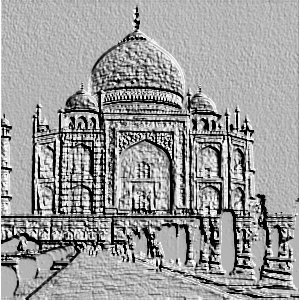
This filter stamps and carves the active layer or selection, giving it relief with bumps and hollows. Bright areas are raised and dark ones are carved. You can vary the lighting.
You can use the filter only with RGB images. If your image is grayscale, it will be grayed out in the menu.
![[Note]](images/note.png)
|
Note |
|---|---|
|
These options are described in Section 2, “Common Features”. |
Relief is smooth and colors are preserved.
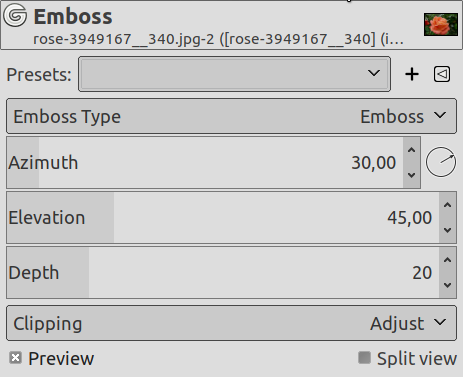
It turns your image to grayscale and relief is more marked, looking like metal.
Default: it turns your image to grayscale and relief is more marked, looking like metal. Although the image looks grayscale, it remains a RGB image.
Relief is smooth and colors are preserved.
This is about lighting according to the points of the compass (0 - 360). If you suppose South is at the top of your image, then East (0°) is on the left. Increasing value goes counter-clockwise.
That's height from horizon (0°), in principle up to zenith (90°), but here up to the opposite horizon (180°).
Bumps are higher and hollows deeper when Depth increases.
The result of this filter can be larger than the original image. With the default Adjust option, the layer will be automatically resized as necessary when the filter is applied. With the Clip option the result will be clipped to the layer boundary.